
There are hundreds of free and paid application are available on the internet which gives you the option to create free photo slideshow or videos. But are you aware that you can turn your beautiful images into slideshow(video) free without using any paid or any other third party application on your Windows PC. Yes it is possible with the Windows Movie maker application, which allows you to create & share photo slideshow. You can share your Photo Slideshow on many social media sites like Flickr, Youtube, Vimeo, Facebook, Skydrive and more. The best part of the application is its free to use and give you so many option to turn your Images and media files into awesome video in different formats.
The application also allows you to save your video into different format such us for YouTube, Android, iOS, Email, HD and more. Powered with lots of other features like Animation, Visual Effects and all. One of the best free tool to create awesome photo slideshow or Video in simple and quicker way. So lets take a look How to Create & Share Photo Slideshow or Video With Windows Movie Maker.
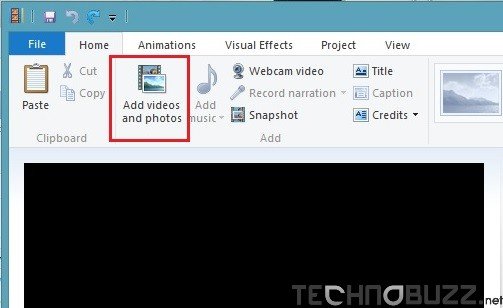
As we mention above the application is free to use and you can find the app on your Windows Programs menu or you can use your windows Search button to search the Windows Movie Maker app. Or You can find the download link of the application at the end of this post. Run the application on your Windows Screen, on the first screen it will ask you to Drag and Drop media files like Images or video which you want to create and share with the Windows Movie maker Application. Or use the Add Video and Photos option from the application toolbar to add your media files.
Once the media files or images are added on your app. You can choose the aspect ratio for your video from the “Project” Option of the application. Choose Widescreen or Standard option from the toolbar.

Now the next step is to add visual effect and Animation on your Video or Photo slideshow. You can use these setting from the Toolbar of the application. Here you can find lots of effect which you can use on your video, you can see the preview of the same animation on the Application screen.

After that you can save your video in different formats from the “Save movie” option from the app. Click the Save movie option and select the Format in which you want to save the video files. You can also share your created video or Slideshow to social media sites. Selct the social media icons from the tool bar and share your created video easily directly from the Windows Movie maker screen.

That’s it. Next time when you want to create or share photo slide show or video try the Windows Movie maker and create some stunning slideshow or video easily. And yes the application is free to use and no need to buy some paid application to create video from image.