
Few months backs we posted an article about how to enable camer2api and install Google camera on Redmi Note 5 Pro without root. Now here we are sharing a guide for the Redmi Note 6 Pro users, that how they can Install Google Camera On Redmi Note 6 Pro Without ROOT & TWRP. Yes, now Redmi Note 6 Pro user can enjoy the benefit of the Google Camera on their device without rooting it. Yes, you heard it right now need to root the phone or install a custom recovery to install the Google Pixel 3 camera on the Redmi Note 6 Pro. All you need a phone with unlock bootloader and Window PC to run some commands.
The best part of this guide is that this method will not replace the stock recovery of your phone and not even break the OTA update on your phone. You will get all the OTA updates and you can install the same without any problem. We tested this method on our Redmi Note 6 Pro and installed the Google camera without any problem. In this guide, we will boot the TWRP temporarily to run some ADB command to enable Camera2API on the phone so you can install the Google camera.
You can check the Video at the end of the post for the reference. So without wasting the time lets get started and enable Camera2API without rootor TWRP and Install Google Pixel 3 Camera Without Root
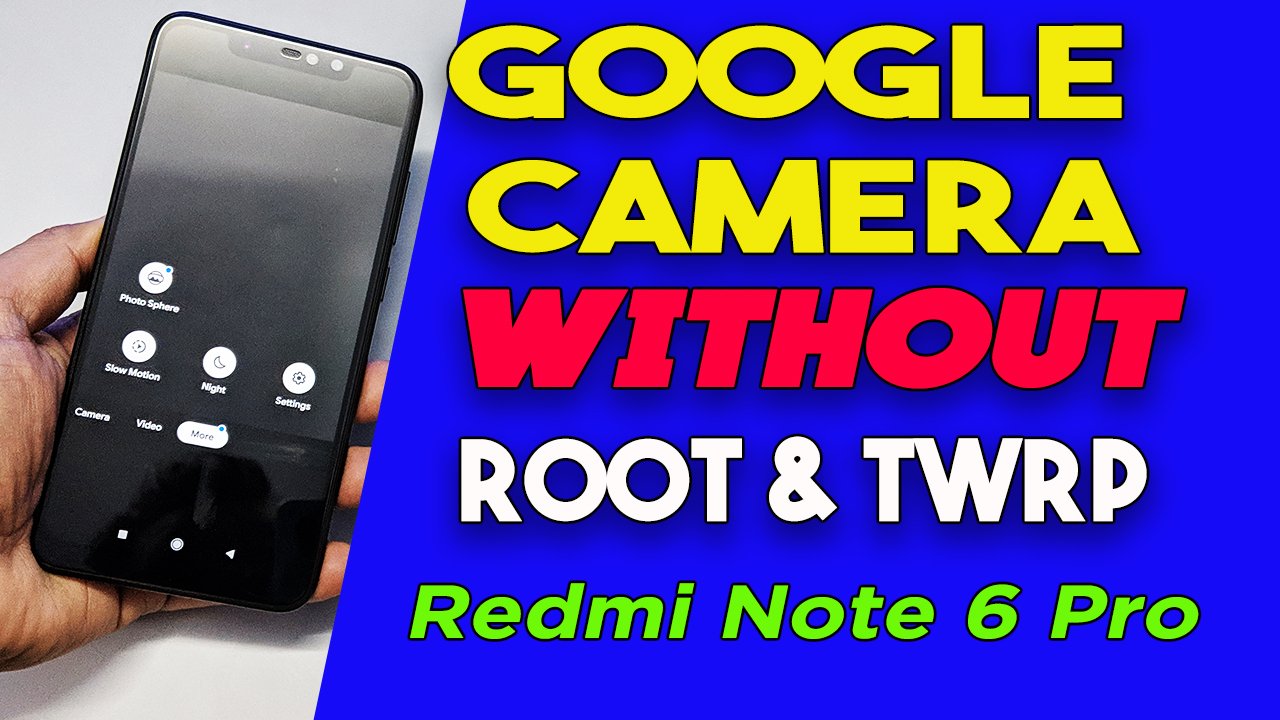
Install Google Camera On Redmi Note 6 Pro Without Root
We tested this method on our Redmi Note 6 pro and it works without any problem. Read all the instructions very carefully and follow all the steps one by one on your phone. Don’t skip any step otherwise, you will not able to run the Google Pixel 3 camera on your phone.
Download File to Install Pixel 3 Google Camera
1. Download the ADB drivers here on your PC and install the same on your phone.
2. Now download these Fastboot files Platform tools folder here and unzip the folder on your desktop.
3. Download the Recovery image file for Your Phone Here. No need to Install the TWRP, we have to boot it temporarily to run some ADB commands.
4. Download Google Pixel 3 camera apk file here to install Google Camera on your MIUI phone.
Steps to Install Google Pixel 3 Camera Without Root on MIUI 10 Redmi Note 6 Pro
1. Make Sure that your phone’s bootloader is unlocked.
2. Now install the ADB drivers on your Windows PC and Unzip the platform tool folder on the desktop.
3. Now boot your phone in the Fastboot mode. To do this first tutne off your phone and now hold down thr Volume Down + Power Buton together.
4. Open the Platform tools folder that you unzipped on your desktop in Step 2.
5. Now press and hold ‘shift’ key and right-clicked anywhere in the folder and select ‘Open command window here.’

5. Now the phone is in the fastboot mode, Coonect it to the PC and enter the following command to boot the phone in twrp.
fastboot boot tuliprecovery.img
This will help you to boot your phone in TWRP mode.
6. Once you are in TWRP. Don’t make any changes or don’t do anything on the phone.
7. Now run the following command one by one winodws to enable Camera2API without ROOT.
adb shell
setprop persist.camera.HAL3.enabled 1
setprop persist.camera.eis.enable 1
exit
adb reboot bootloader
fastboot reboot
8. Now the Camera2API is enabled and TWRP is removed from your phone.
9. Now install the Google Pixel 3 Camera apk file on your phone.
10. Now the Google Camera is installed on your phone.
Congratulations! You have enabled Camera2 API without losing the ability to receive MIUI OTA Update since you do not flash any custom recovery.
GOOGLE Without ROOT & TWRP , Enable Camera2API | Redmi Note 6 Pro
.
Direct Link to Youtube Video
If you have any question about the guide or facing some problem during the process then leave the comments below, and we will help you to fix it up.
After enable camera2api i van lock my miui bootloader
please make for mi 8 lite, i always failed in the “adb shell” steps
the command below is not “~# @(n setprop”
it only “~#” without “@(n”
Please help meee
thanks in advance
CameraP3 is crashing. What should I do?
please tell about the symbols comming before command in cmd
i cant getin the recavery mood after mob restart he stock on mi and not entar to recovery