
Dropbox is well known popular cloud service with lots of new features and improvement. It allows you to store your personal files on the cloud and retrieve them with ease. Not only this, there are some of other features that you can enjoy with your dropbox account it also allows you to track your stolen smartphone and laptop, backup your WordPress blog database files and automatically share screenshot. In simple words you can say that Dropbox is one of the best Cloud service. But most of the Dropbox users don’t know about these features. Now today i am here to share a new tip with all Dropbox users, which allows you to embed photos in our websites, blogs and email. Now no need to upload your images on other image hosting services and attach the same on your email and blog posts.
The tip is pretty simple and take only couple of minutes to implement it on your Dropbox account. But to use this trick you have to sign up for the free Dropbox account here and download the Dropbox application on your PC or MAC. With the help of this trick you can use your own photo signature in your emails, as you know that in Gmail you can only use the embed picture as your Signature, that means you can only attach the pictures using an external link containing the image file. So lets take a look how you use dropbox to attach images on your blog and emails.
How to Use Dropbox to Attach Images on Your Blog and Emails
Step 1. Once the Dropbox application is installed on your desktop you can see the new Dropbox folder on your PC. See the screenshot below for example.
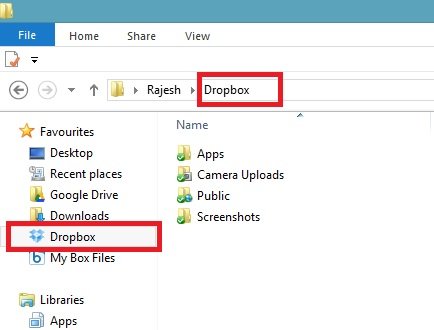
Step 2. Now get ready with your image that you want to attach on your blogs or emails. Now go to your Dropbox Folder on your PC and create a new Sub Folder on Dropbox folder and rename it as Public (My Dropbox > Public). See the screen shot below.

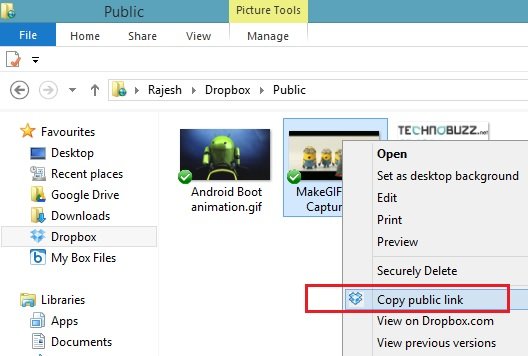
Step 3. Now you need to copy or transfer the image file in the Public Sub-Folder that you want to attach on your blogs. Once the file is uploaded on your Public folder and you can see the Green Check icon on the corner of your image file. After this, you need to right-click on the image file. Now you can see the “Copy public link” option on the menu. Just cloick on it and the you have the direct link of the image that you want to attach.
Step 4. Now you have the direct link of the image, paste the same on your email signature or your blogs. See here how to add email signature on Gmail.
That’s it, now you are done. I hope you like this article! If you have questions, comments or suggestions, you may comment them below. If you are looking for more how to tips, click here!
Hey Sidharth, This is very cool! My daughter’s hard drive crashed today and she was very scared that she lost her pictures. She just found out about 10 minutes ago that Dropbox had backed up her pictures automatically from her computer. She is at the moment the World’s Biggest Dropbox fan!
Great explanation about how to use Dropbox to attach images to your blog. Would you do this to speed up your blog? What are the advantages of doing this instead of uploading the images to your blog?
Thanks for this great article!
Hi Sidharth,
Nice write up. Didn’t know that you can use Dropbox to attach images on blogs and emails.
Thanks for sharing!
Well this is pretty interesting. I had no idea you could even do this! Although, I’m not too sure why you’d want to – I suppose loading images from Dropbox instead of your own server would reduce the load on your server a little bit.